Using the Camera Network Package
Table of Contents
Client
After successful installation, start the Client GUI by navigating to:
cd cameranetwork/scripts_client
then run python camera_client.py
You should now see
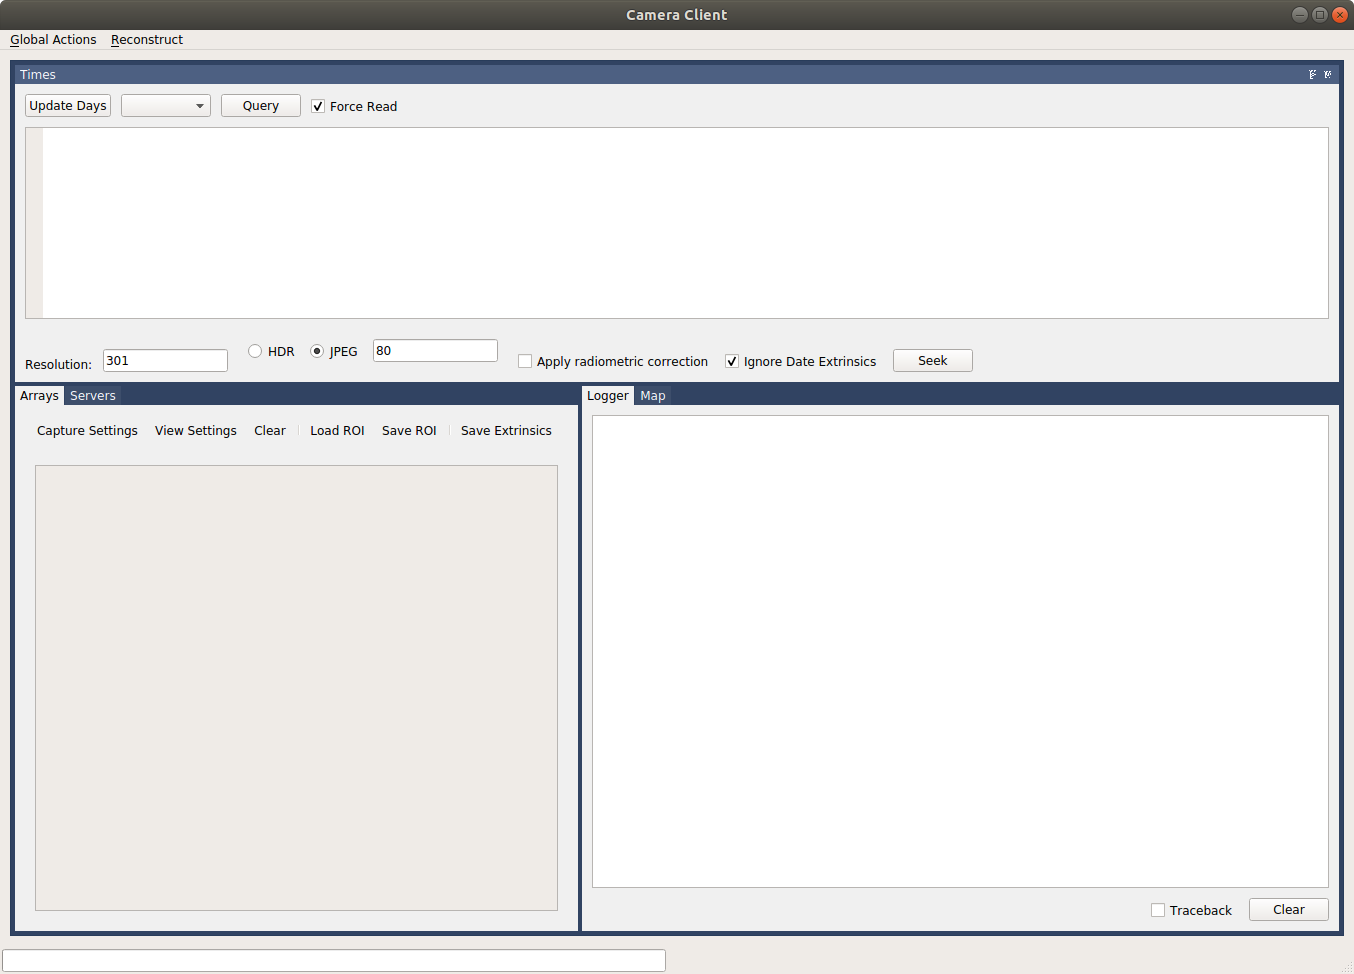
after pressing on servers, you should see all connected cameras, in this case camera id 236.
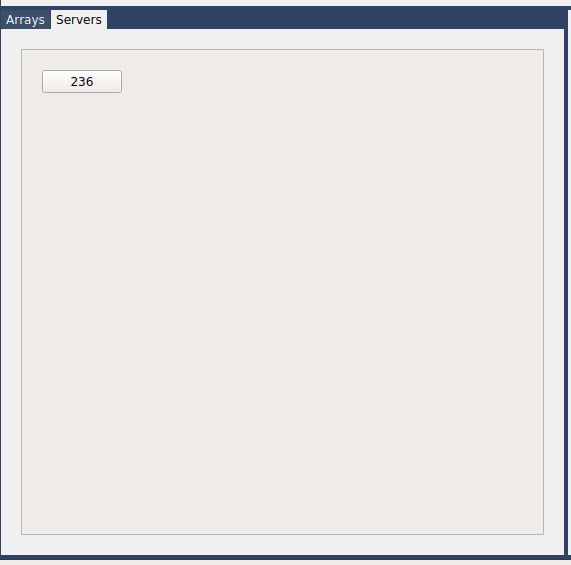
pressing on the camera ID should lead to the camera interface screen

sun Shader
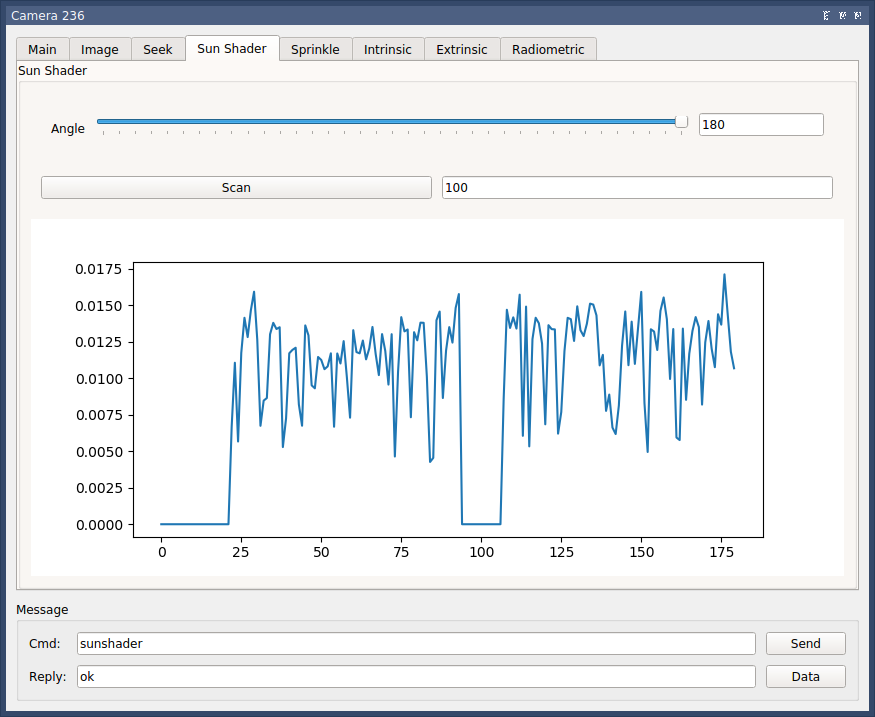
The angle slider allows manual setting of sunshader angle. The scan button moves the sunshader throughout it’s whole range, then according to the point with least sunlight (as shown in the graph) determines the sunshader optimal angel.
Camera (server)
Field Deployment
- Verify Case Screws fully tightened.
- Verify plugs fully screwed.
- Verify sprinklers are pointing in the right direction
- Verify camera alignment with north-south
Connection
There are options to connect to the camera
Serial connection
On the Client’s PC, from cameranetwork folder:
bash scripts/listusb.sh to list all connected usb devices and to find the relevant one.
Should be /dev/tty/USB0 (replace ‘0’ with relevant number)
- Follow driver installation instructions by Odroid.
- Linux: Run
sudo minicomin Client PC’s terminal. Windows: Use Teraterm. - Enter odroid username
- Enter odroid password
Proxy
To connect to the proxy
sudo ssh -i <path_to_key> ubuntu@<proxy_ip>
Note
sudo chmod 400 <path_to_private_key>
if permission error is encountered.
Note
<path_to_key> is the path and name of the proxy’s private key <proxy_ip> is defined in global_settings.py. Currently 3.123.49.101
If this is the initial setup of the proxy server:
screen _S session_name
python ./code/cameranetwork/scripts_proxy/start_proxy.py --log_level info
Should be run from the root of the server, otherwise the logs would be put in a different location each time. Screen is used to be able to detach and retrieve when ever needed.
- Press ctrl+a then ctrl+d to detach the start_proxy.py from the terminal
screen -lsto see detached processes. thenscreen -r <name>to bring it back.
Noticable stuff
tunnel_port_<camera_id>.txt stores the odroid’s password and tunnel_port (random int between 20,000 and 30,000).
/proxy_logs/cameralog_<date+time of ____ initialization>_proxy.txt is a log. Mainly shows Heartbeats from connected cameras and notification of message transmissions to/from the client.
Others
Image Acquisition flow
On Odroid: rc.local –> main(start_server.py) –> start(server.py).278 –> loop_timer(server.py) –> handle_loop(controller.py) –> safe_capture(controller.py) –> IDSCamera.capture (cameras.py)
Useful commands
ps -ef | grep pythonto view running python processes (should see start_proxy.py!)sudo netstat -a -nlp -o | grep 198to see status of relevant ports- adding ssh key to ssh-agent.
- How to use scp to transfer files.
For example to retrieve proxy log from proxy to client:
scp ubuntu@3.123.49.101:/home/ubuntu/proxy_logs/cameralog_190929_092735_proxy.txt /home/shubi/Desktop/log - gparted for microsd / eMMC partitioning & direct copying.
sudo dd if=/dev/sdb of=~/xu4_lab.img status=progressto create an image of odroid- etcher to flash image onto the SD card
grep -a -e "Unregistering worker 236" -e "Registering new worker 236" cameralog_190929_092735_proxy.txt- to see connections and disconnections. replace log.txt with * for all logs in folder.
Data Structures
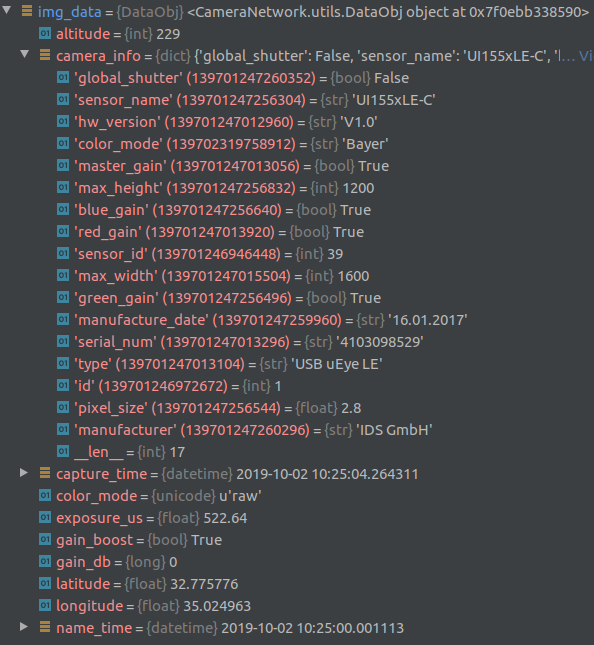
When looking at a specific camera, under captured_images, for each that the camera recorded a folder <%Y-%M-%D> is created. Inside, the images are stored as .mat files. In addition there is a thumbnail .jpg version, add metadata as .pkl. The name is utctime_date+exact time. The .pkl file stores the following data:
img = pd.read_pickle('~/captured_images/2019_10_02/1570011900.0_2019_10_02_10_25_00_3.pkl')
In addition, one database.pkl is created and stored per day:
database = pd.read_pickle('~/captured_images/2019_10_02/database.pkl')
database.head()

Time                hdr   path                                                                            longitude  latitude   altitude  serial_num
2019-10-02 00:00:00 0    /home/odroid/captured_images/2019_10_02/1569974400.05_2019_10_02_00_00_00_0.mat  35.024963  32.775776  229       4103098529
2019-10-02 00:30:00 0    /home/odroid/captured_images/2019_10_02/1569976200.05_2019_10_02_00_30_00_0.mat  35.024963  32.775776  229       4103098529
2019-10-02 01:00:00 0    /home/odroid/captured_images/2019_10_02/1569978000.05_2019_10_02_01_00_00_0.mat  35.024963  32.775776  229       4103098529
2019-10-02 01:30:00 0    /home/odroid/captured_images/2019_10_02/1569979800.05_2019_10_02_01_30_00_0.mat  35.024963  32.775776  229       4103098529
2019-10-02 08:48:03 0    /home/odroid/captured_images/2019_10_02/1570006083.33_2019_10_02_08_48_03_0.mat  35.024963  32.775776  229       4103098529
Analyzing Results
On Client PC:
cd /cameranetwork/scripts_client
python start_local.py <path_to_experiment_data>
Note
- Make sure to activate environment beforehand:
conda activate cn_client - -l flag is used for local proxy (instead of real proxy server)
- -d flag is for opening gui separately.
workflow + data structure:
#. Run python start_local.py -d ~/experiment_23_09_2019 in the background
where experiment_date is a folder containing cam_ID folder for each camera involved.
Each cam_ID should consist of
- captured_images folder which stores inside a folder with images(.jpg, .mat & .pkl versions) and database.pkl for each day that the camera recorded.
- dark_images folder
- sun_positions folder, containing a folder with .csv containing the positions of the sun (and moon!) with format: timestamp, object, pos_x, pos_y, sunshader_angle, row each 6 minutes for sun and every 1 minute for moon.
- Additional pkl’s and json’s and other (important!) files.
- Run
python camera_client.py - You should see a list of all real & virtual cameras.